How to Use a Multimeter at Home to Test an Electrical Outlet?
Reading on a multimeter screen can help you to determine whether the power is reaching an outlet or not. The outlet is properly grounded or not? Whether wiring within the outlet is reversed.
Most people don’t have any type of multi-meter at home to check or diagnose electrical problems. But if you have one of them then how can you test it in real life? In this post, we will learn “How to Use a Multimeter at Home to Test an Electrical Outlet?”
Now before we diagnose anything, we have to buy a multimeter at first. Purchasing a multimeter is the go-to tool for diagnosing electrical problems. It will allow you to investigate and address outlet issues.
What a Multimeter Can Tell You?
Reading on a multimeter screen can help you to determine whether the power is reaching an outlet or not. The outlet is properly grounded or not? Whether wiring within the outlet is reversed.
Use a Multimeter to Test an Outlet:
First, learn the essentials of outlet testing safety because you are going to perform these tests on a live outlet. For this reason, ensure basic safety by holding both meter probes in the same hand. This safety procedure will prevent any shock from passing through your body. When you are testing a live outlet then never allow the metal portion of the probes to brush each other or touch. It can create a dangerous short circuit.
Know the outlet connection system. Generally, an outlet has three slots. Where one for hot, one for neutral, and one for ground. Inside the outlet live or phase cable will be brown color, Neutral cable will be blue and Earthing cable color will be black or green.
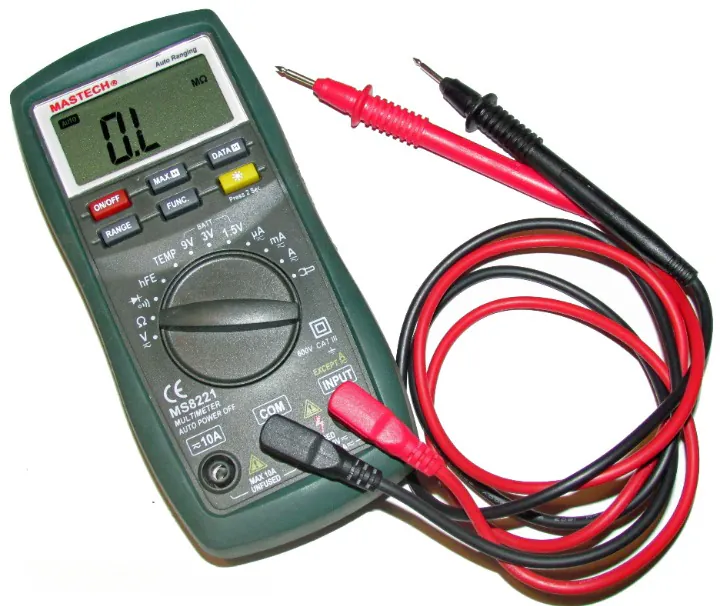
Now come to adjusting your multimeter. The meter has different modes to measure voltage and resistance. For this reason, set your meter to measure voltage in voltage mode. For AC and DC select function before testing. For alternating current (AC), select function (AC) on the multimeter, and for Direct Current (DC) select DC function.
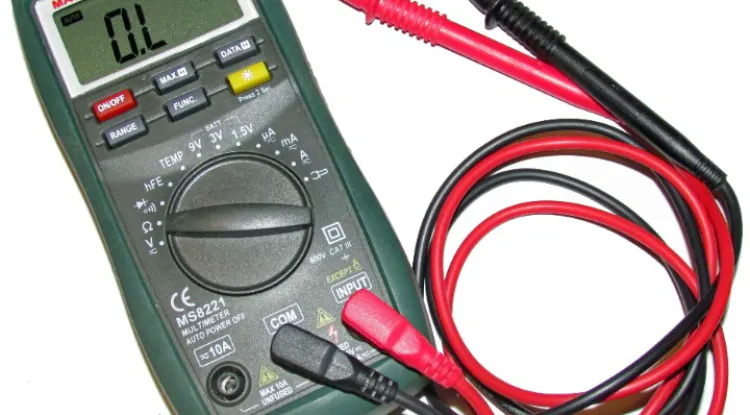
Now how to connect the leads? At first push the short, thick connector (usually called a “banana plug”) of the BLACK lead into the connector labeled “COM” (it can have a minus ‘-‘sign beside it). Plug the RED connector labeled with a ‘+’ or horseshoe symbol (the Greek letter Omega).
It’s time to measure the voltage to determine if the outlet has power or not. For safety reasons use the same hand to insert a probe into each vertical slot on the outlet. The red probe goes into the smaller slot, black probe into the larger one. If you already confirmed that this outlet has AC powers then select the function AC from the multimeter before testing. A properly functioning outlet will give a reading of AC 110-120 volts. If there is no reading on the multimeter screen then check the wiring on the outlet.
Now determine if the outlet is properly grounded or not. For this test remove the black lead and place it in the ground outlet slot. The reading should remain the same. If it doesn’t then the outlet is improperly grounded or the wiring is reversed.
Check if the wiring is reversed or not. For this test place the red lead into the left-hand slot and the black lead into the ground. If there is no reading then the outlet is not grounded. But if you get a reading the wiring is reversed.
Now if you have any questions about testing your outlet at home then please leave a comment below and we will get back to you as soon as possible.