10 Easy Steps to Install Smart Lighting System at Home
A Sweet Home Must Have a Smart Lighting System & Here are 10 Easy Steps to Install Smart Lighting System at Home.
You built your house with a good foundation and a smart look. But without proper lighting, it will not be perfect. For example, you want to use a low light bulb in your garden and you don’t want to keep all active at a time. You want some of them will glow and others to remain inactive. After some time later glowing light will be inactive and the previous inactive light will glow. This process will be active all night and when the first sunlight comes out, all systems will stop until sunset. To a solution to this kind of problem, your home must have a smart lighting system. In this post, we are going to discuss “10 Easy Steps to Install Smart Lighting System at Home”
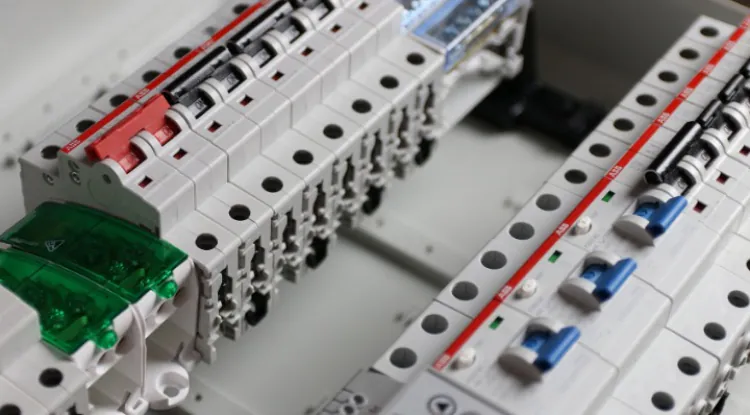
Step 1 - Low Voltage Means Low Risk:
We can use a step-down transformer to lower the supply voltage from 120V AC to 12V DC. This voltage conversion will reduce the risk during operation and you can easily handle it by yourself.
Step 2 - Select Low Voltage Outdoor Light:
Generally low voltage lighting kits are available in a wide variety of styles, colors, sizes, and finishes at your local area home improvement store or online like AliExprss, or Amazon. But you just need to look for kits that include lights, 100 feet of low voltage copper or aluminum cable, and a transformer for lowering current flow that will power your light.
Step 3 – Finding a GFCI Outlet:
Now you must have a GFCI outlet where you will plug in the step-down transformer. You have to do it before installing a low-voltage light. The place of outlet should be near to place where you want to install the light.
Step 4 – Assembly:
You may receive an installation manual with your light set. By using this manual you can complete the installation by yourself. You just need to put the lights together. Then attach the stakes, followed by the light bulb, lens, and cover. Keep the wires alongside the lights, do not attach now with light.
Step 5 - Layout The Lights:
Lay the lights out where you want to install them and it will be better if you take this decision before where you want to install all lights. Now make sure everything is right place where you want.
Step 6 - Secure The Step-Down Transformer:
It will be better if you mount the transformer on the wall near your GFCI outlet. This transformer should be installed at least one foot above ground level. Remember; when you are mounting to brick surfaces be sure to use a masonry bit and plastic or lead anchors to ensure a secure installation.
Step 7 - Dig The Trench:
Safety is the first concern for outdoor lighting. Because our small children and pet will walk around. Now when you are satisfied with the light placement then it’s time to dig the trench for the cable laying. Normally low voltage landscape lighting requires a shallow trench and it can even be left above ground. If preferred, though this may put wiring at risk from lawn equipment. Despite the fact the trench is shallow; call your local utility company before digging. After trenching, lay out the lines, but don’t bury your cable now.
Step 8 - Connect The Cable And Bury The Wire:
Now attach the lights to the cable which has clamps with metal teeth capable of piercing wiring covers to tap the electrical line. After tapping the lights into the wiring, strip the ends of the low-voltage power cable and then connect them to the output terminals on the transformer. Now you can turn on power to check lighting and electrical connections for operation then make final adjustments later in the evening, burying cables the following day. Then you can apply a plastic ‘while in-use’ cover to the outdoor outlet to protect it from rain and snow.
Step 9 – Program:
Now it’s time for programming and it will be how you want to perform your lighting activities. Just program your lighting, setting the timer for the hours you want the lights ON/OFF.
Step 10 - Enjoy The Beauty:
Now enjoy your outdoor lights, and admire your handiwork but don’t forget about the monthly electrical bill.
Thanks for reading this article. If you find this article helpful then please share it with your friends.